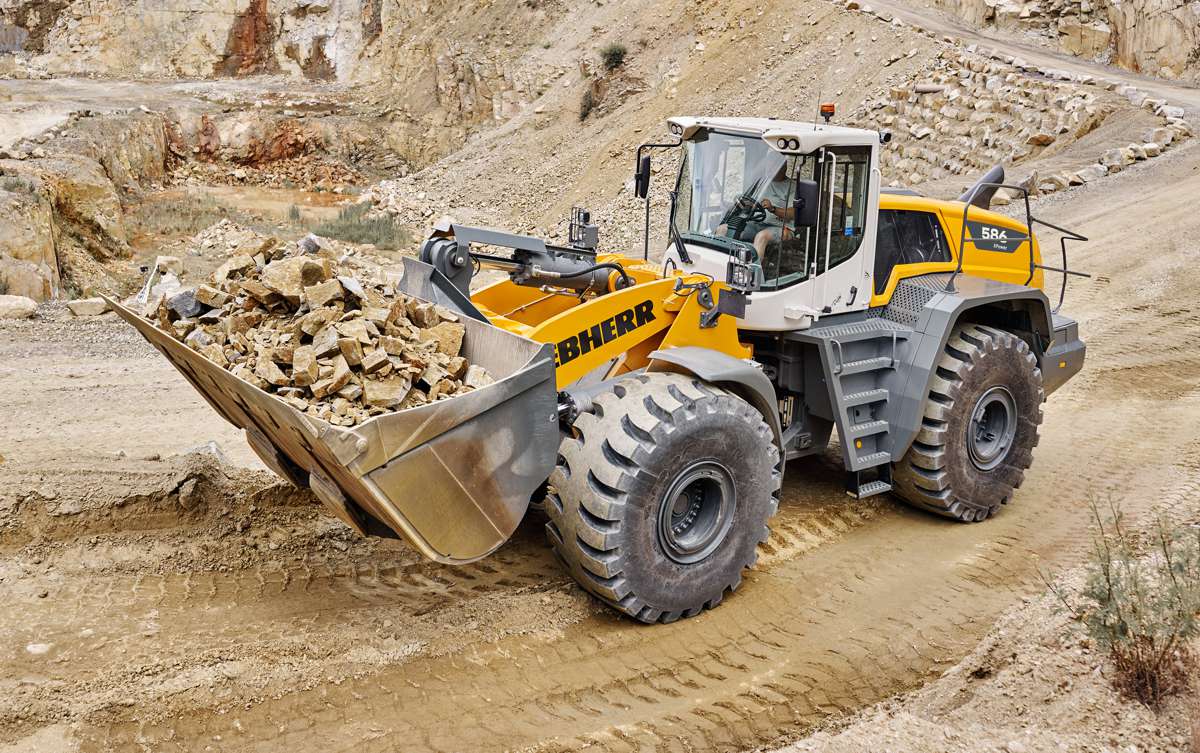
How to Build an Auger Setup That Handles Any Task
An auger setup proves its value when it keeps working, regardless of what the ground throws at it. Digging neat post holes one day and pushing through harder soil the next is rarely about chance. It usually comes down to the decisions made before the machine ever starts.
In that mix, finding reliable auger packages is often treated as a secondary detail, even though it plays a decisive role in how smoothly everything operates. When the drive, bit, and fittings are chosen with purpose, the equipment works with you rather than pushing back, and small inefficiencies are dealt with before they have a chance to grow into bigger problems.
Matching Your Setup To The Work You Actually Do
No auger configuration performs at its best everywhere. Each job brings its own demands, and effective setups reflect that reality. Soil type, depth requirements, and how often the equipment is used all influence what makes sense. Light, sandy ground allows for simpler components, while dense clay or mixed fill asks more from both the drive and the cutting edge.
The real advantage comes from pairing components thoughtfully. When the drive unit and bit are matched to the conditions, the auger cuts cleanly instead of fighting the ground. That balance lets operators move between tasks without rebuilding the entire setup every time conditions shift.
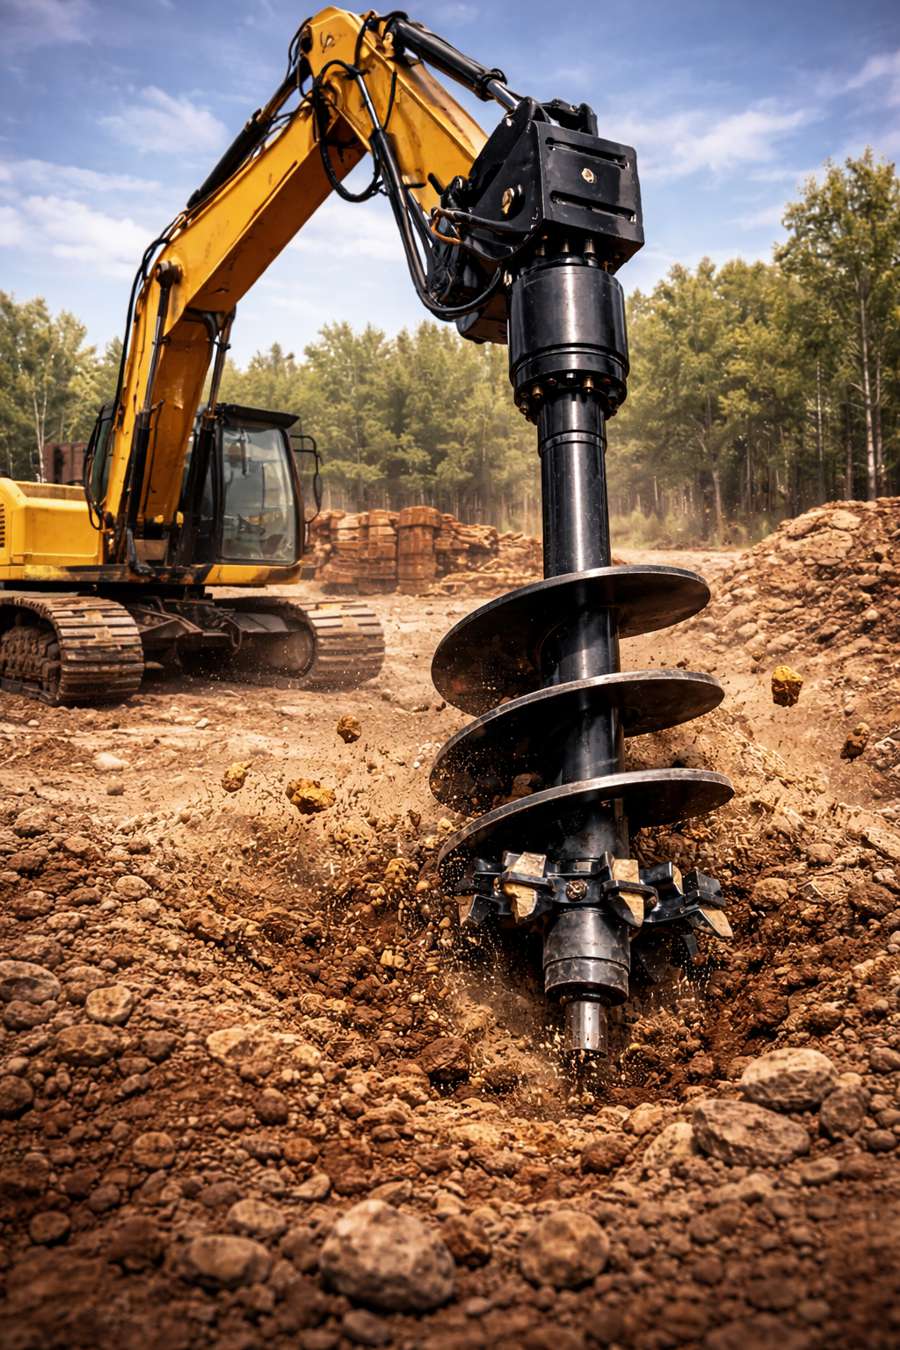
Choosing A Drive Unit That Delivers Steady Power
The drive unit sits at the centre of the system, converting machine output into a controlled digging force. Selecting one that suits your carrier matters more than many expect. Too little torque and progress stalls. Too much, and wear accelerates unnecessarily.
High torque drives suit deeper holes and tougher material, particularly where resistance stays consistent. Lighter-duty drives can shine in softer ground where speed matters more than brute force. Compatibility also plays a role. Secure mounting and correct hydraulic flow protect both the auger and the host machine, keeping everything working as intended.
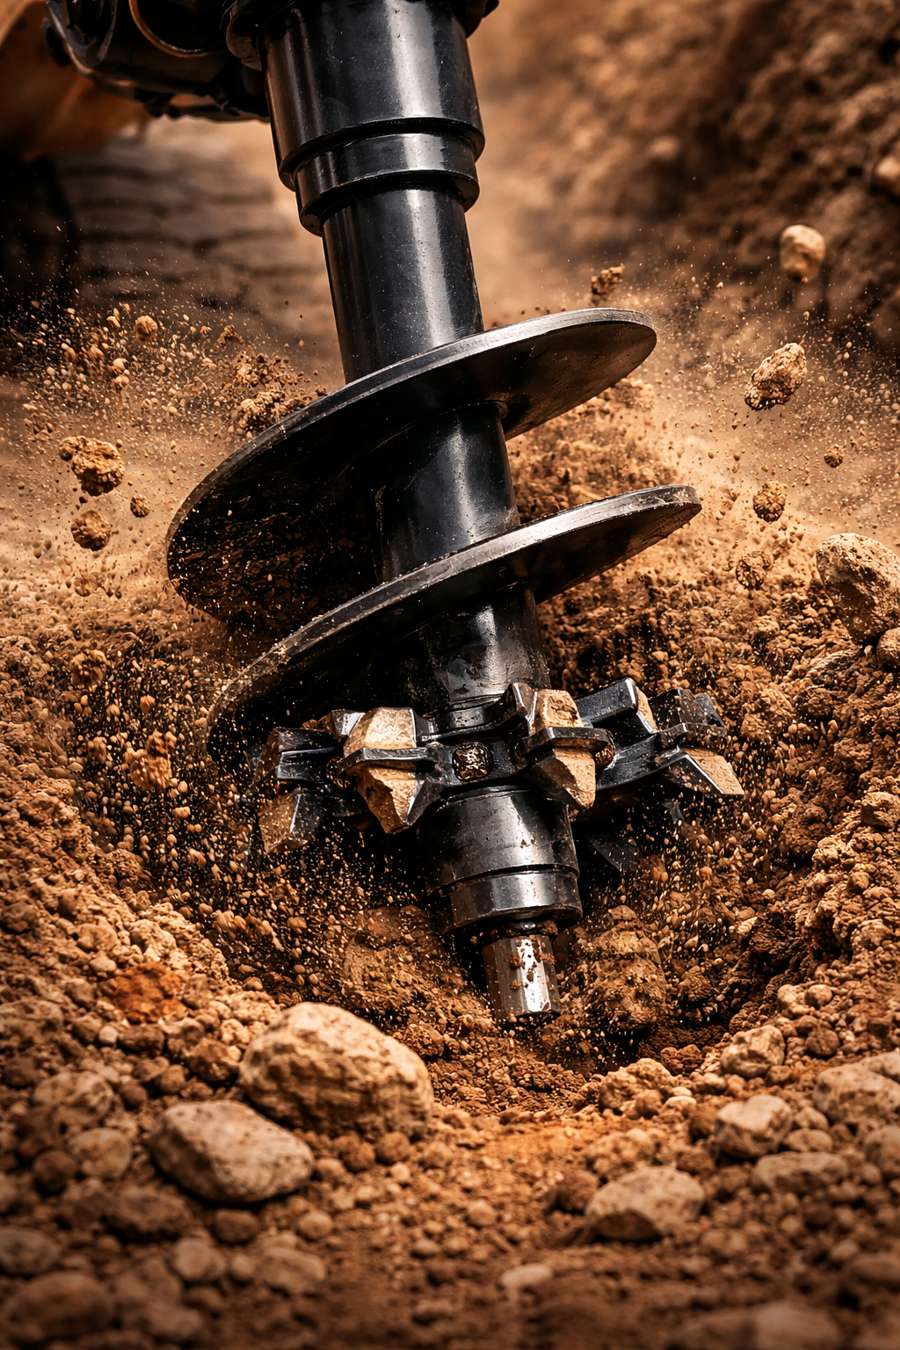
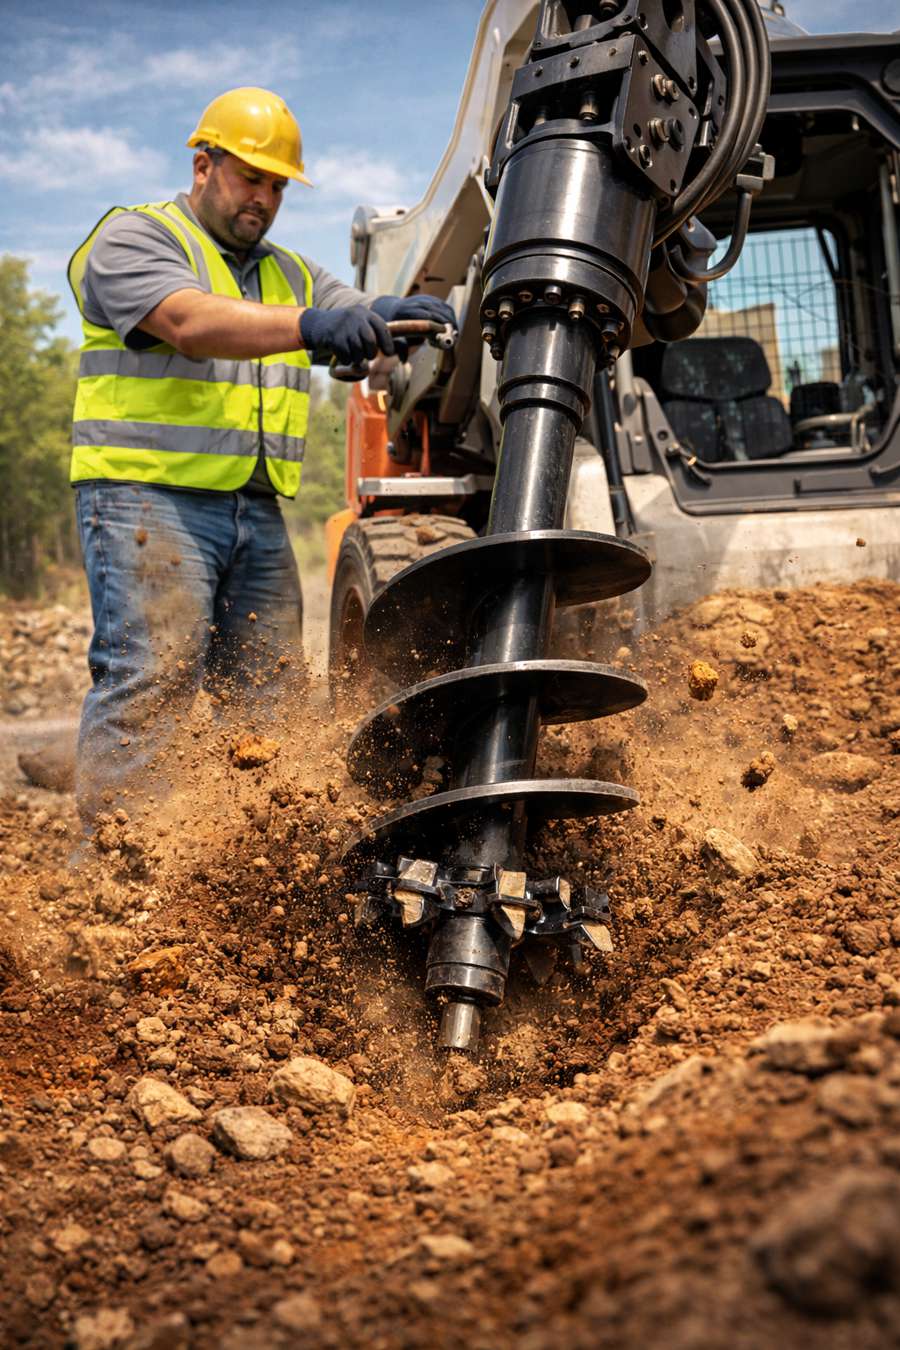
Bit Designs And Attachments That Expand Capability
Auger bits do far more than determine hole size. Their construction influences how smoothly material clears and how hard the system has to work. Standard earth bits handle general digging well, while reinforced options with hardened teeth cope better with compacted or abrasive ground.
Flexibility increases when extensions and adapters enter the mix. They allow the same base setup to tackle deeper or wider holes as needed. Some systems support specialised attachments for rock, planting, or clearing, adding range without cluttering the yard with duplicate equipment. Durable steel and replaceable wear parts also make ongoing upkeep far less painful.
Keeping Equipment Performing As They Should
Even the best setup loses its edge without care. Regular inspections catch worn teeth, damaged flighting, or loose fittings before they become problems. Small checks done often tend to save more time than major repairs later.
Hydraulic connections deserve attention, as leaks or contamination can undermine performance quickly. Cleaning components after use and storing them under cover slows corrosion and keeps tolerances tight. When parts reach the end of their service life, timely replacement preserves safety.
Why Versatility Is Important When Building Augers
A well-planned auger setup earns its value through adaptability. With the right selection of drives, bits, and accessories, one system can cover fencing, landscaping, planting, and site preparation work without hesitation.
This modular approach reduces downtime and limits the need for duplicate purchases. Operators spend less time swapping machines and more time finishing jobs.
Final Thoughts
An auger system built with care tends to stay useful longer than expected. Thoughtful component choices, sensible maintenance habits, and a clear understanding of job requirements all contribute to that outcome.
When everything works together, the equipment feels predictable and dependable, even when conditions shift. That confidence, built job by job, is what turns a basic auger into a reliable part of everyday work over time.