4 essential tips for successful 3D Printing in the Classroom
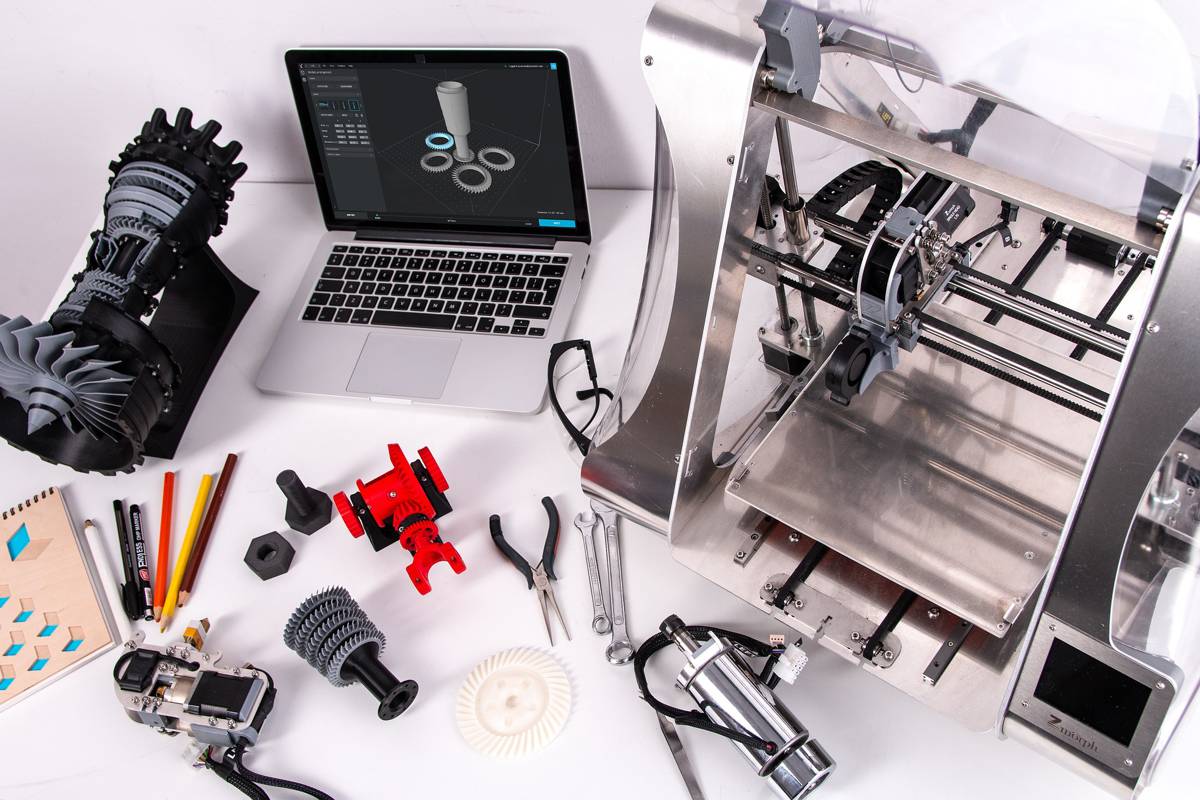
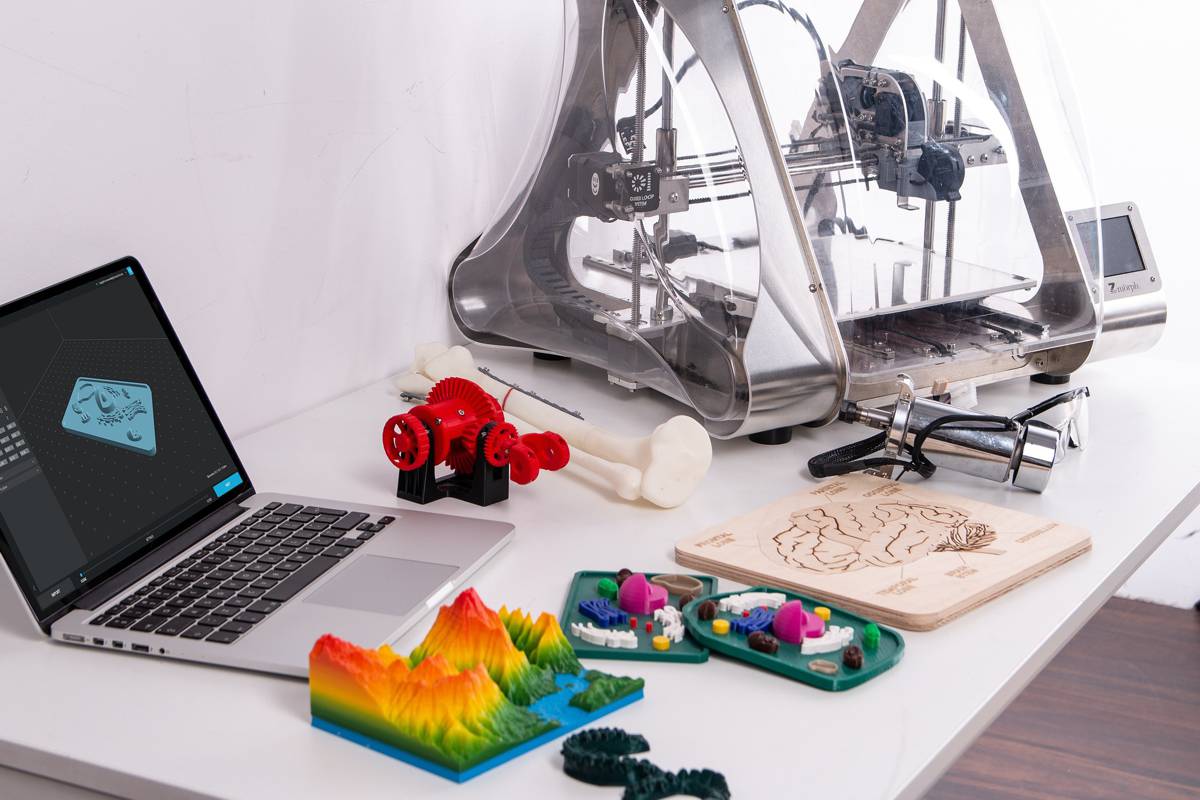
3D printers might seem like a lunchbox-sized factory that can make you anything as long as you’re willing to wait for it to create the individual parts (assembly required on your part, of course). However, this tool is just like any other tool out there, like your inkjet but for 3D objects.
With that in mind, let’s discuss how to use this new device properly so that students in the classroom can make their own 3D designs come to life. They can use it to make scale models or prototypes without them moulding the material themselves by hand.
Speed Isn’t Everything But It’s Important
Speed might not matter if you’re printing something out of your personal 3D printer but if it’s a class and each individual student or groups of students have to use the printer, you need to make your designs small enough to cover for hours and hours of fabrication wait times.
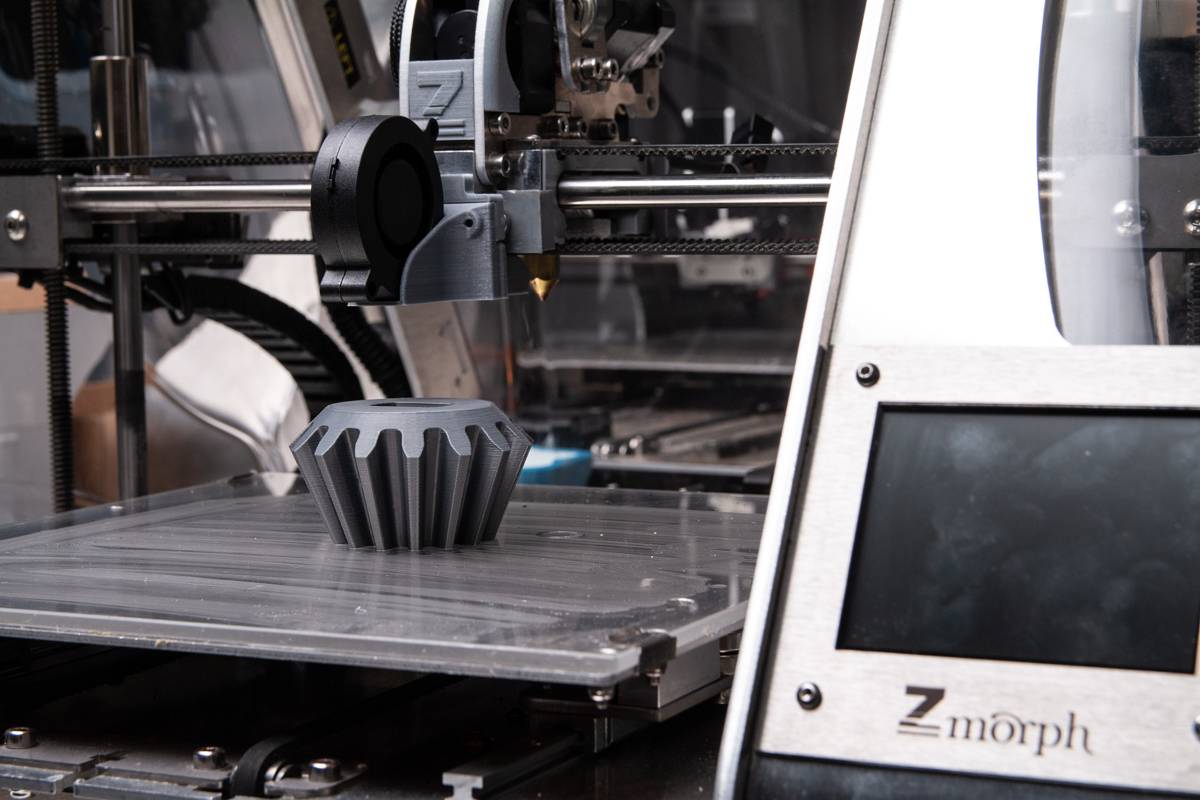
You can expedite the speed of the print by using a larger nozzle and larger layer height. This comes at the cost of printout smoothness, but if it’s for a prototype or to see how well a mockup design for a product looks at the fastest fabrication time possible, it will do.
Also, before anything else, you obviously need 3d printers for classrooms to successfully do 3D printing in the class, of course.
Even Teachers Need to be Taught
3D printing is new technology, and you know how it is with “boomers” and new tech (that’s a Millennial/Gen Z joke for you). Teachers might also need to become students themselves in order to teach the actual students how to properly use the 3D printer.
They might need to attend refresher 3D printing courses like Ultimaker Academy to teach students some tips in 3D CAD (computer-aided design) to make the most out of their 3D object printouts. Or you can at least look up specific YouTube videos on the subject.
Help Students Avoid Failure
Teach your students proper and practical 3D CAD without any mistakes to prevent wasted resources. Avoid failed prints so that your slow-printing 3D printer doesn’t have to go on hours making a crown or toy prototype that requires revision. Everything must make sense on-screen to make excellent prints.
There are loads of ways to prevent failed prints, the most obvious of which is to render the CAD in full 3D so that you can inspect every last surface and fill out any missing parts. Don’t print straight from the wire frame preview. Also, double-check the settings and the breakaway supports for the part.
Let Your Students Fail
Yes, this runs in direct contrast with the previous advice. However, ironically, the best time to break and bend rules is to first follow them to the letter.
Failure is costly and takes hours and hours of printing and waiting. However, students might take such things for granted until they experience the consequences of such actions. Allow them to make mistakes so that they’d never repeat them again.
Let them learn that the fancy features of modern slicers like in-fill and supports exist for a reason. They’ll be less likely to fail in the future the same way someone with dial-up Internet would never accidentally lift the phone up during an 8-hour download.
Other Things You Should Notice
Those are the 4 ways you can go about successfully printing 3D objects from the school’s 3D printer. Don’t forget to follow maintenance instructions to ensure that the device lasts a long time. Maintenance also involves students taking good care of the printer.
The people responsible for looking out for the printer will have an easier time if students are also careful with using and handling the device. Hopefully, the advice will inspire you to find new and exciting ways to make creative use of this exciting, cutting-edge tech!


