






Gravel Compaction: A Practical Guide for Small Contractors
Small construction jobs still need careful planning, especially when you are building gravel surfaces. A poorly compacted base can lead to sinking, drainage issues, and costly repairs.
That is why contractors should understand how different gravel types behave and which tools work best for each job. With the right gravel compaction techniques, you can create stronger surfaces, reduce repeat work, and deliver better results.
1. Pick Gravel That Packs Well
You can tell how well the surface holds together by the gravel you use. Crushed stones have rough edges that lock together, while round stones tend to roll on top of each other.
Some common choices include:
- Crusher run: A mix of crushed stone and fine particles that packs tightly.
- Crushed limestone: Often used for driveway bases and other outdoor projects.
- Road base gravel: A blend of stone sizes that creates a firm foundation.
- Pea gravel: Smooth, round stones that are better for decorative areas than compacted bases.
For a driveway, choose driveway gravel that accommodates the expected vehicle weight and ground conditions. A good mix of large and small particles fills spaces and creates a more stable surface.
2. Prepare the Ground First
Putting gravel over loose soil is a common mistake. Initially, the surface may look fine at first, but it can sink once vehicles start to drive over it.
First, get rid of the grass, roots, trash, and soft topsoil. Dig as deep as the project needs, and then level the area. Watch out for drainage. So that rainwater doesn’t pool in one place, the ground should have a slight slope.
If the soil is soft or muddy, consider laying geotextile fabric before adding gravel. This fabric separates the soil from the stone and prevents the two materials from mixing.
3. Spread Gravel in Small Layers
Don’t dump all the gravel in one thick layer and expect a compactor to do the rest. The machine can press the top and leave the material below loose.
Instead, layer the stone. A loose layer of about 3 to 4 inches is a typical starting point, but the proper depth will depend on the material and equipment.
Use a rake or grading tool to spread the gravel evenly. Compact each layer before adding another one. This method builds a stronger base from the ground up.
4. Use the Right Compaction Equipment
Sometimes you don’t need a big construction machine for a small job. The appropriate equipment depends on the size of the area and the type of gravel.
Here are three common options:
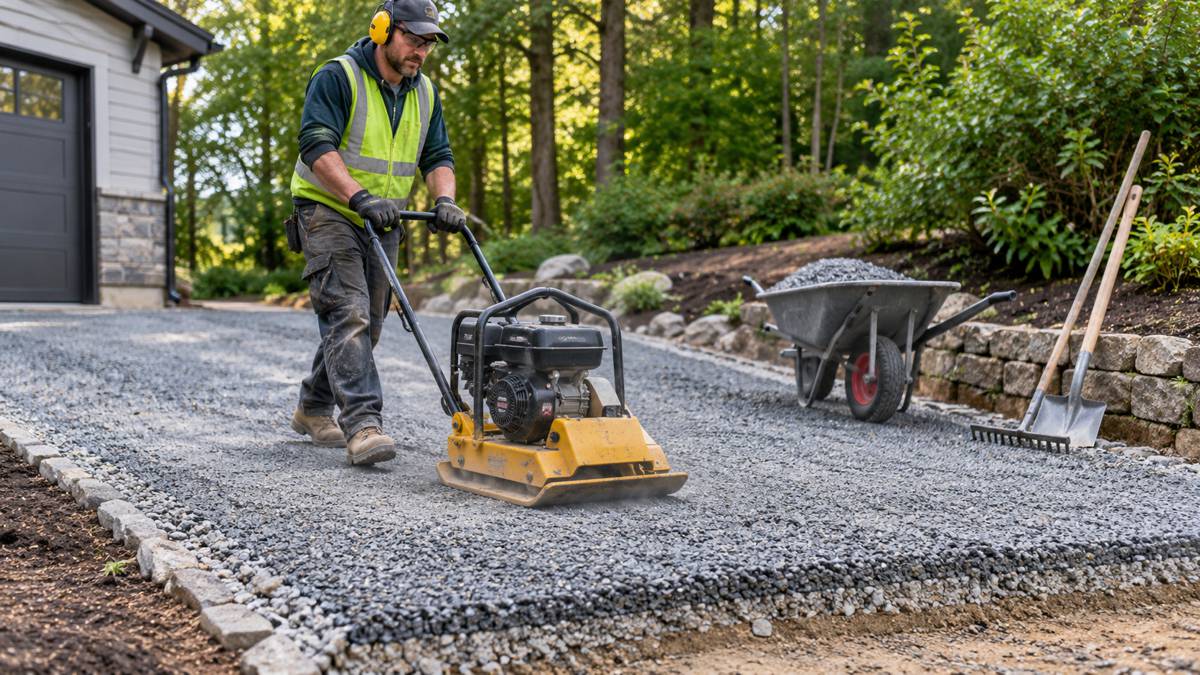
- Plate compactor: A practical choice for driveways, paths, and small parking areas.
- Hand tamper: Useful for tight corners and small sections.
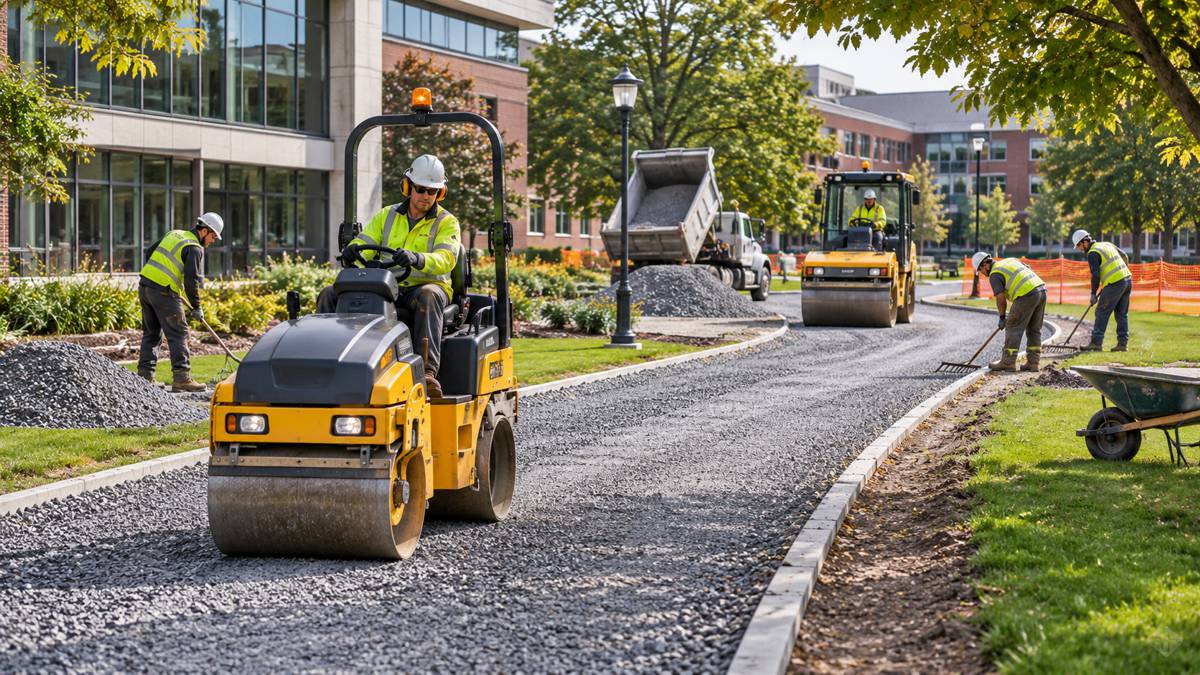
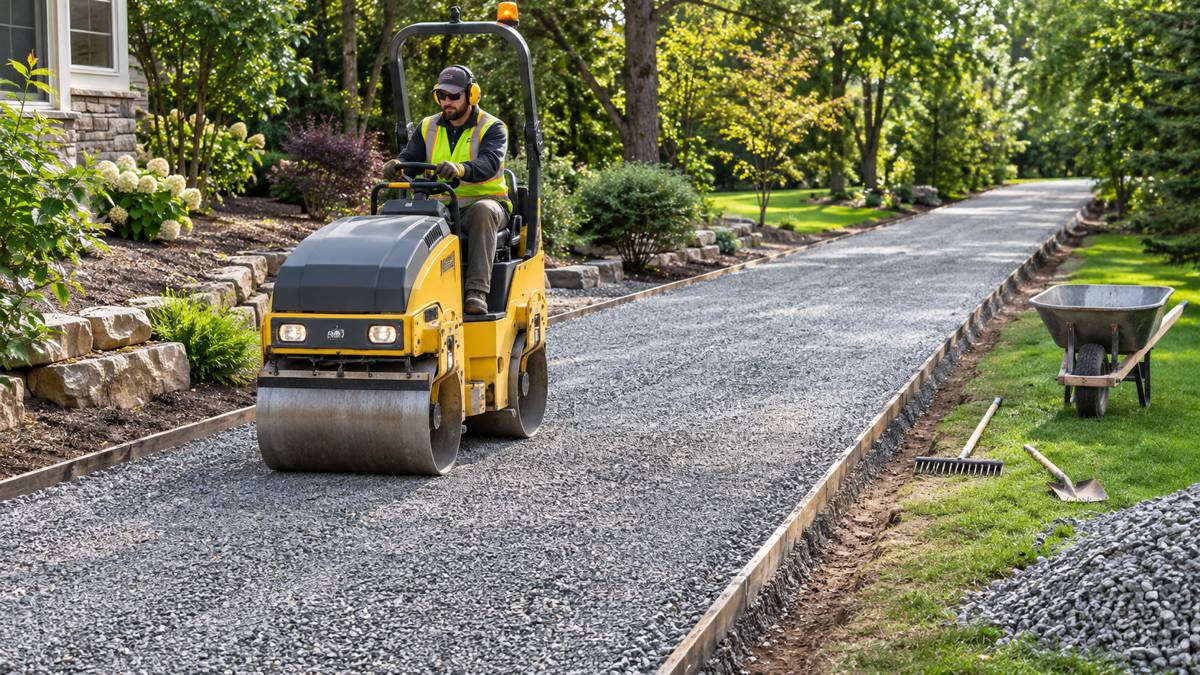
- Roller compactor: Better suited to larger surfaces that need even pressure.
Always follow the equipment manufacturer’s instructions and use proper hearing, eye, and foot protection.
5. Get the Moisture Level Right
Gravel that is too dry may not settle properly, while excess water can make the underlying soil weak.
If the material is very dry, spray a little water over it before compacting. Mix it evenly so one section does not become wetter than another.
Do not soak the gravel. The material shouldn’t be muddy, just a little wet. This level of moisture is best for the type of aggregate and the site conditions.
6. Compact the Surface and Check Your Work
Overlap your moves as you move the plate compactor across the gravel. Cover the whole area; don’t leave any gaps near the edges.
Once the surface is packed down, walk over it and look for dips, soft spots, or loose stones. Wherever you need to, add more gravel and pack it down again.
For projects with specific strength requirements, arrange a compaction density test. This gives you a better idea of whether the base meets the required standard. It’s not possible to tell how dense something is just by looking at its surface.
7. Avoid Common Compaction Mistakes
Do not rush the compaction process. Using the wrong gravel, spreading thick layers, or skipping ground preparation can lead to loose stones and uneven surfaces. Check each layer as you work and make sure the edges are packed well. A few simple checks can save time and prevent costly repairs later.
Give Every Gravel Job a Strong Finish
A good gravel surface starts with the right stone and proper ground preparation. Spread the material in layers, control moisture, and use equipment that is appropriate for the job.
With these steps, small contractors build stable gravel bases, reduce future repair work, and get better results for their clients. By taking a little extra care during compaction you can save both time and money once the job is finished.